

EfficientGenAI inference
Build and scale production applications on the latest optimized models and fine tunes

Text Gen API
LLMs for chat, summarization, and structured output

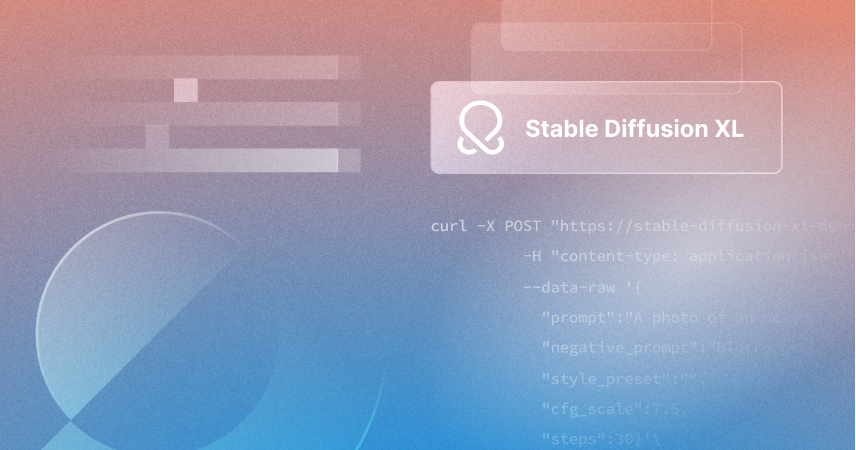
Media Gen API
Diffusion models for stunning image and video

OctoStack
Turnkey GenAI stack in your environment
Innovators Choose OctoAI
“For our performance and security-sensitive use case, it is imperative that the models that process call data run in an environment that offers flexibility, scale and security. OctoStack lets us easily and efficiently run the customized models we need, within environments that we choose, and deliver the scale our customers require.”


Dali Kaafar
CEO Apate AI
GenAI production stack: SaaS or in your environment
The foundation of OctoAI is systems and compilation technologies we’ve pioneered, like XG Boost, TVM, and MLC, giving you an enterprise system that runs in our SaaS or your private environment.


Enterprise-grade inference
Achieve AI Independence
Free yourself from any single model, model provider, cloud, or hardware setup.
Optimize Performance & Cost
Run GenAI inference at the lowest price and latency on our optimized serving layer.
Future Proof Applications
Rapidly iterate with new models and infrastructure without rearchitecting anything.
Customize Freely
Mix and match models, fine tunes, and AI assets at the model serving layer.
OctoStack from OctoAI: GenAI in your environment
OctoStack is a turnkey GenAI serving stack to run your optimized models in your environment on your GPUs. Lower your total cost of ownership and deploy models with greater agility while ensuring data privacy.


What’s New at OctoAI


Customer & Product Updates


Blazing Fast Images with SDXL Lightning on OctoAI


Try Meta Llama 3 via the OctoAI API


Supercharge RAG Performance Using OctoAI and Unstructured Embeddings

Mixtral 8x22B is now available on OctoAI


Latest Models
Llama 3 Instruct
Mixtral-8x22B Instruct
Mixtral 8x22B fine-tuned
Qwen 1.5
Your choice of models and fine tunes
Start building in minutes. Gain the freedom to run on any model or checkpoint on our efficient API endpoints.
%shell octoai asset create --name checkpoint-panda --upload-from-hf-repo NeuralNovel/Panda-7B-v0.1 \
--engine text/mistral-7b-instruct \
--data-type fp16 \
--format safetensors \
--type checkpoint \
--transfer-api sts